Difference between revisions of "Griff's No Shaders Shipset"
(→Download and Installation) |
|||
| Line 33: | Line 33: | ||
Image:Griff NoShaders CargoPod.png|[[Cargo Container (Oolite)|Cargo Pod]] | Image:Griff NoShaders CargoPod.png|[[Cargo Container (Oolite)|Cargo Pod]] | ||
</gallery> | </gallery> | ||
| + | |||
| + | == Version 1.0 Additions == | ||
| + | Griff's main stations, Rock Hermit, asteroids, boulders, and splinters | ||
== Not Included == | == Not Included == | ||
| Line 64: | Line 67: | ||
== Version History == | == Version History == | ||
| − | version 1.0 for Oolite 1.77.<br> | + | version 1.0 for Oolite 1.77. Released 22 April, 2014.<br> |
Griff No Shaders ShipSet v0.95. released 12th May 2012. | Griff No Shaders ShipSet v0.95. released 12th May 2012. | ||
== Download and Installation == | == Download and Installation == | ||
| − | This OXP is distributed in one zip file. After extracting, move the folder, " | + | This OXP is distributed in one zip file. After extracting, move the folder, "Griffs_NoShaders_Shipset1.0.oxp" to the AddOns Folder of your Oolite installation. Inside this folder, in addition to the Models and Texture files, are two zip files, "Addition_Config.zip" and "Replace_Config.zip". The user will need to decide whether to use this OXP as a replacement or addition ship set, and extract the appropriate config folder. |
| − | |||
| − | |||
Want more information on installing multiple retextures? Go [[Installing multiple retexture OXPs|HERE]] | Want more information on installing multiple retextures? Go [[Installing multiple retexture OXPs|HERE]] | ||
Revision as of 16:55, 22 April 2014
Contents
About
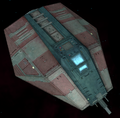
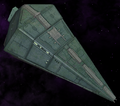
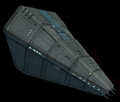
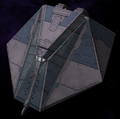
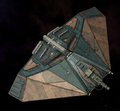
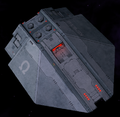
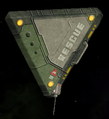
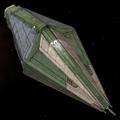
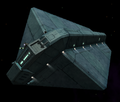
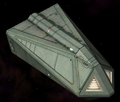
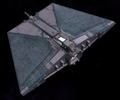
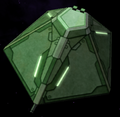
Griff has made some fantastic models of ships which use normalmapping and shader effects to produce some of the best looking ships available in Oolite. They render as intended on hardware that supports full shader capabilities. This OXP began as a personal project to bring Griff's ship set into a shaderless Ooniverse. Methods are outlined below. Announcements are made on the forum, so keep an eye on this thread.
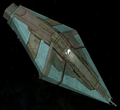
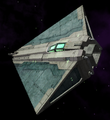
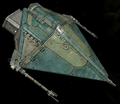
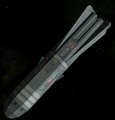
Gallery
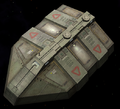
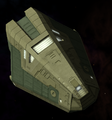
Click on thumbnails to view full size images
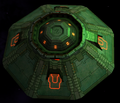
Version 1.0 Additions
Griff's main stations, Rock Hermit, asteroids, boulders, and splinters
Not Included
Navigation Buoy's
Methods
Shipdata coordinates and quaternions, models and original textures by Griff
Diffuse Texture Modification:
1) Decomposed to RGBA
2) Copied and removed Alpha channel
3) Recomposed RGB
4) Duplicated background layer
5) Merged layers with either Dodge or Addition layer modes at 50 to 70% opacity
6) Added pseudo relief layer from desaturated RGB normal map
7) Layers merged down with soft light blending at 70% - 80%
8) Greyscale glow map composite from texture set (diffuse, effects and normalmap)
9) Diffuse texture decomposed to RGBA
10) Glow map anchored to alpha channel
11) Final texture composed to RGBA
Materials section of shipdata.plist:
diffuse_map
specular_color
shininess
emission_map - alpha channel of diffuse map
emission_modulate_color
License
This work is licensed under the Creative Commons Attribution-Noncommercial-Share Alike 3.0 Unported License. To view a copy of this license, visit http://creativecommons.org/licenses/by-nc-sa/3.0/.
Version History
version 1.0 for Oolite 1.77. Released 22 April, 2014.
Griff No Shaders ShipSet v0.95. released 12th May 2012.
Download and Installation
This OXP is distributed in one zip file. After extracting, move the folder, "Griffs_NoShaders_Shipset1.0.oxp" to the AddOns Folder of your Oolite installation. Inside this folder, in addition to the Models and Texture files, are two zip files, "Addition_Config.zip" and "Replace_Config.zip". The user will need to decide whether to use this OXP as a replacement or addition ship set, and extract the appropriate config folder.
Want more information on installing multiple retextures? Go HERE


