HDBG
HD Backgrounds on Arrival Reports
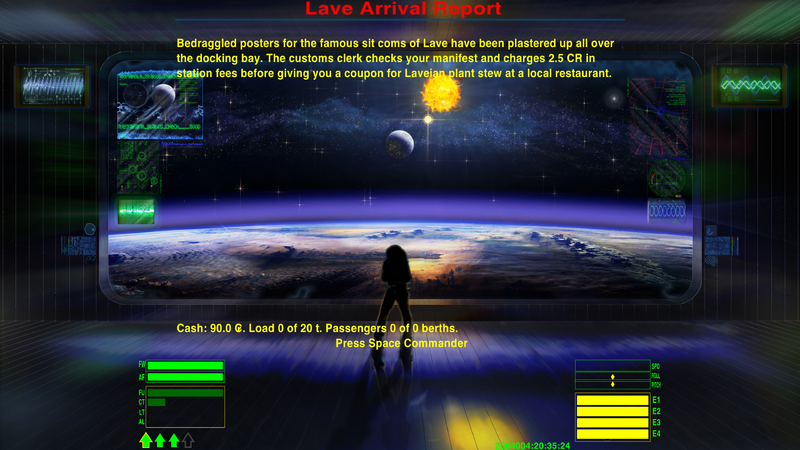
Show station specific high resolution background images in arrival reports.
System screens are unchanged (handled by BackGroundSet, Better Screens. Red Set and Xenon UI). Note that depending on settings any of these might suppress HDBG.
Not to be confused with BGS/BackGroundSet which provides docking sequences, hyperspace jump sequences, background noise etc.
The following oxp's unleash these HDBG's on a regular basis:
- Docking Fees
- Elite Trader
- Hermitage
- Life in the Frontier - when you check your personal status
- Star Destroyer
HD images are gathered in this topic. There is a dedicated HD Backgrounds topic also.
This is an UHD screenshot on a Coriolis station, click here for the full image (3840x2160, 7MB):
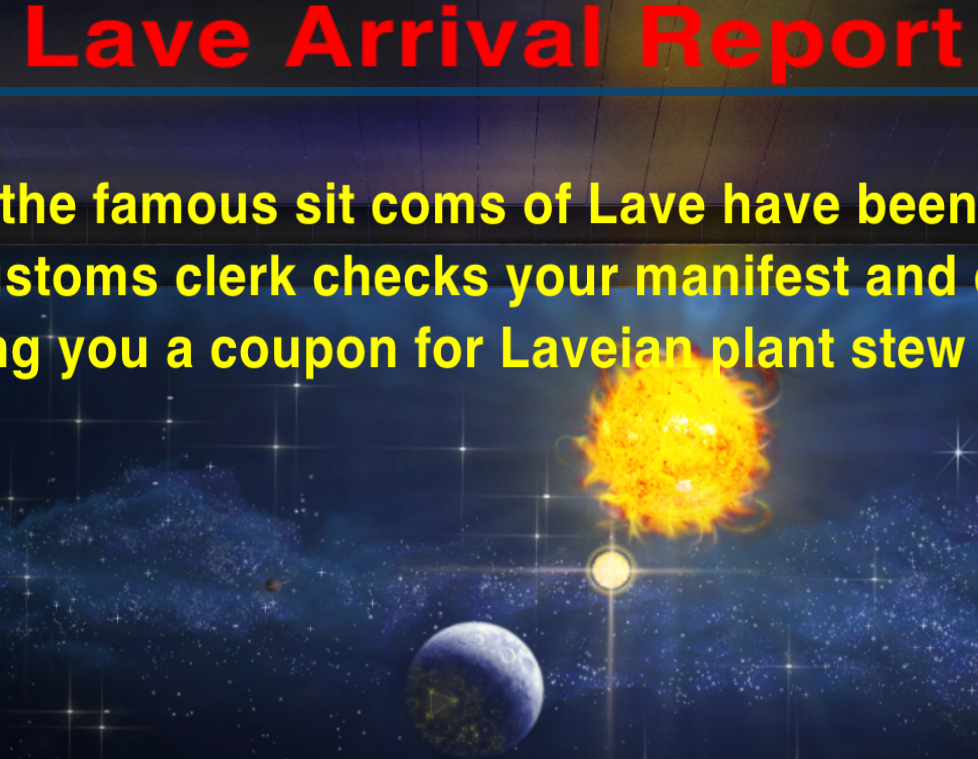
Closeup of the top center part, check for the small details:
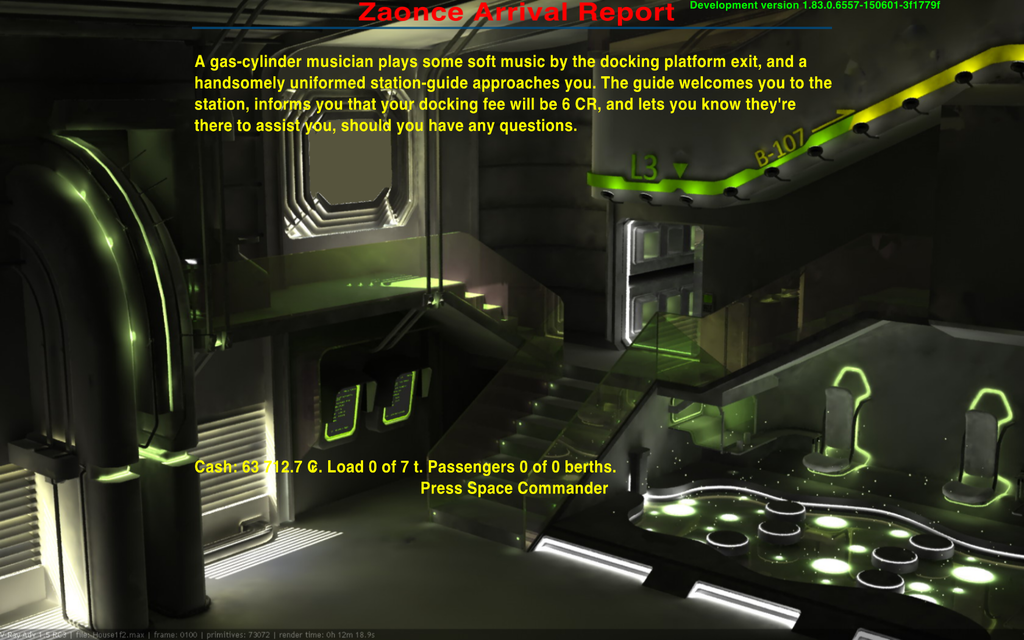
Arrival at an Icosahedron station:
Contents
Usage
Mission screens can show the same image as arrival reports if screenID is set to 'hdbg-station'.
A specific image of another station is accessible also if the role of the station is given, like 'hdbg-coriolis'.
Custom images can be used in misson screens if a hdbg-mymission.png is placed into any Images folder, the following code is applied and the screenID of the mission screen is set to 'mymission'.
this.startUp = function() {
 var w = worldScripts.hdbg;
 if( w ) w.$AddRoles([{role:'mymission', name:'My Mission', file:'hdbg-mymission.png', x:1920, y:1080}]);
}
You must give role and file at least, but x and y sizes of images are needed to align well in different screen ratios.
You should give data about author, title, license, source of the image and the name of the station like in this example:
{role:"coriolis", name:"Coriolis Station",
 file:"The_USS_Terraformer_by_Brendan_Biele.png", x:3840, y:2400,
 author:"Brendan Biele", title:"The USS Terraformer", license:"CC BY-NC-SA 3.0",
 source:"https://www.flickr.com/photos/brendanbiele/5374095042/",
 zoom:1 }
The optional zoom parameter is usable to force the original aspect ratio of the image regardless of the current screen. If the image is narrower than the screen then will zoom in to fit the width but the screen will crop the image at top and bottom. When image is wider than the screen then zoom into until fill the height of the screen but this cause to extend over the sides horizontally.
Without zoom the image always fit to the height of the screen but will be shrinked horizontally if too wide, like a 16:9 image on an old 4:3 monitor or stretched horizontally if too narrow, for example a 16:10 image on a 16:9 screen.
When you insert a 16:9 image you must decide which case will be looking better in a narrow 4:3 screen, the zoomed without sides or the stretched which fit into the screen but distorted.
If there are not so much important things in the sides and the cut lines at 5-5% for 16:10 and 12.5-12.5% for 4:3 will not break apart anything (like a human figure) then you can use zoom:1. When no circles or other objects on the image which looks bad if shrinked horizontally then you can left out the zoom parameter so shrink the image into the screen.
If you insert a 4:3 image then you must decide the same but the cut lines are at the top and bottom.
When you insert a 16:10 or other exotic images then you must check both cases: side cuts for the 4:3 monitor users and top-bottom for 16:9 widescreen users before choose zoom:1. Requesting to stretch to the screen with distortion by leaving out the zoom parameter is usually better in this case.
When an image is problematic both in zoomed and distorted mode then you can use zoom:-1 which will zoom out until the whole image fit into the screen, but this leave black bars at the top and bottom if the image is too wide or at the sides if too narrow, so this should be the last resort.
Credits
Thanks for all authors of included images for the hard works and given permissions.
The list of authors and sources are in the script.js files in HD image packs.
Image Pack A
Core stations
| Role | Author | Title, linked to the source | Size | License |
| coriolis | Brendan Biele | The USS Terraformer | 3840x2400 | CC BY-NC-SA 3.0 |
| dodecahedron | Vylar Resident | Relaxing in my quarters | 2560x1391 | CC BY-NC-SA 2.0 |
| icosahedron | Kheng Teoh | Lab | 1680x1050 | no problem as long as you use cite the source |
| rockhermit | AndreasS | Right on time | 3840x2362 | CC BY 2.0 |
| rockhermit-chaotic | Holly | Space Colony | 3840x2160 | CC BY-NC-ND 2.0 |
| rockhermit-pirate | Liqueur Felix | Last Eden | 2720x1660 | CC BY-NC 2.0 |
| unknown | Kheng Teoh | Dead End | 1024x768 | no problem as long as you use cite the source |
Image Pack B
OXP stations
| Role | Name | Author | Title, linked to the source | Size | License |
Instructions
Do not unzip the .oxz file, just move into the AddOns folder of your Oolite installation.
License
This work is licensed under the Creative Commons Attribution-NonCommercial-ShareAlike License version 4.0. If you are re-using any piece of this OXP, please let me know by sending an e-mail to norbylite@gmail.com.
Downloads
HDBG_1.0.oxz (downloaded 5404 times).
Image Pack A: HDBG-A_1.0.oxz (downloaded 5149 times).
Image Pack B: under development.
Changelog
2015.06.08. v1.0 First release.
Quick Facts
| Version | Released | License | Features | Category | Author(s) | Feedback |
|---|---|---|---|---|---|---|
| 1.0 | 2015.06.08 | CC BY-NC-SA 4 | HD Backgrounds | Ambience OXPs | Norby | BB-Link |


