MFD Fast Configuration Setup Guide
Contents
Introduction
This document is designed to help players make the best use of the MFD (Multi-Function Display) Fast Configuration's features. To do this, we'll be walking through a player operating scenario and performing all the steps to put the scenario into play. Note that this is a sample configuration only, and not some form of recommendation about HUD’s (Heads-Up Display) or preferred MFD arrangement.
Scenario
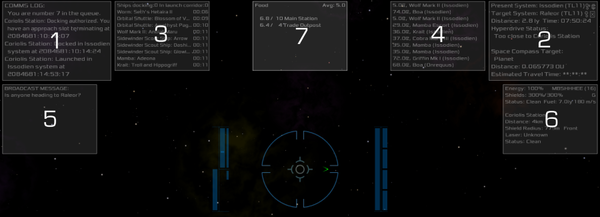
My HUD (Xenon HUD) has 7 MFD positions, and I have the following MFD controls I want to use at different times
- Combat MFD
- Navigation MFD
- Comms Log MFD
- Broadcast Comms MFD
- Station Dock Control's Traffic Control MFD
- Market Inquirer MFD
These are the different display sets I want to use:
- During condition green, I only want to see the Combat MFD, the Navigation MFD, and Marker Inquirer.
- During condition yellow, along with the condition green MFD's, I also want to see the Comms Log MFD and Broadcast Comms MFD.
- During condition red, I only want the Comms Log, Broadcast Comms, and Combat MFD.
- When Docking, I want all six MFD's displayed.
To get all this created, I need to launch and then just position myself a short distance away from the main station, out of the way of any approaching ships.
Selecting and cycling MFD's, and priming equipment
I'm going to be doing a lot of MFD switching in this guide. To select an MFD you press the ":" key (shift + ";"). That will make the next MFD have the focus. Keep pressing ":" and you will move the focus to each MFD position in turn until you end up back at the first position.
To cycle the available MFD options once you have a specific MFD position highlighted, you press the ";" key. Again, keep pressing ";" until you find the MFD you want to display.
The other task I'll be doing quite a bit in this guide is priming equipment items. You can cycle through the available equipment items by pressing "N" (shift + "n"). To go in the reverse direction (in case you cycle one item too far), press Ctrl "N" (ctrl + shift + "n"). Once an equipment item is primed, the "b" ("Mode") and "n" ("Activate") keys will be available.
Condition Green Set
We'll start with the condition green set.
- First, I select MFD slot 2. I then cycle the available MFD's in this slot until the Combat MFD is displayed.
- Then I select MFD slot 4. I cycle the available MFD's in this slot until the Market Inquirer MFD is displayed.
- Then I select MFD slot 6. I cycle the available MFD's in this slot until the Navigation MFD is display.
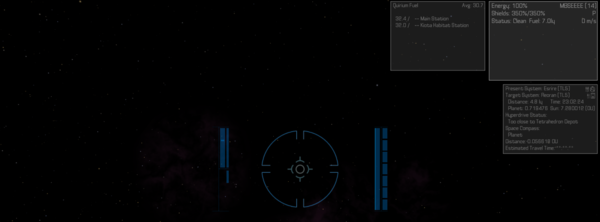
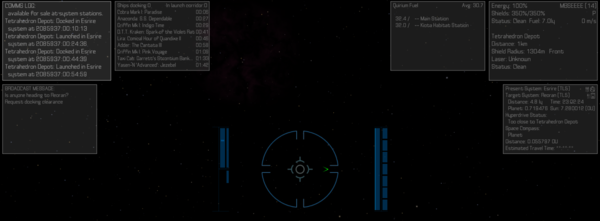
This is how I want my condition green set to display.
- I now prime the MFD Fast Configuration equipment item, then press the "b" (Mode) key until "Set current config as Condition Green set" is displayed.
- Then I press "n" (Activate) to store that set.
Condition Yellow Set
Next, we'll set up the condition yellow set, which is an extension to the condition green set.
- I select MFD slot 1, and cycle the available MFD's until the Comms Log MFD is shown.
- Next I select MFD slot 5, and cycle the MFD's here until Broadcast Comms MFD is visible.
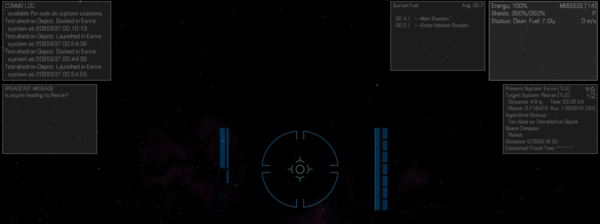
This is how I want my condition yellow set to appear.
- I then prime the MFD Fast Configuration equipment item again, press "b" again so that "Set current config as Condition Yellow set" is displayed.
- Then I press "n" to store that set.
Condition Red Set
In condition red, I want to hide a couple of unnecessary MFDs.
- So I select MFD slot 4, and cycle through the MFD's until there is none shown.
- Next, I select MFD slot 6, and again cycle through MFD's until none is shown here as well.
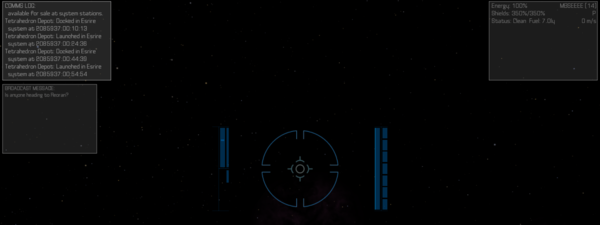
That should leave, Comms Log, Broadcast Comms, and Combat MFD.
- I prime the MFD Fast Configuration equipment, press "b" again so that "Set current config as Condition Red set" is shown.
- Then I press "n" to store that set.
Docking Set
Finally, there is my docking set, which is essentially the condition yellow set plus an extra MFD. The quickest way to get to that point is to activate the condition yellow set. I can do that by:
- Pressing "b" key again (while MFD Fast Configuration is still primed) until "Activate Condition Yellow set" is shown.
- Pressing "n" will pull up the MFD set we saved for Condition Yellow.
Now I can add my additional MFD.
- I need to select MFD slot 3, cycle the MFD's until the Traffic Control MFD is shown.
- With MFD Fast Configuration primed, I press "b" again until the "Set current config as docking set" is shown.
- Pressing "n" will then store my docking set.
Final steps
There are a couple more steps to perform before we're ready to fly.
First, I want to specify a default set, which is the set that is automatically shown whenever my ship launches. I want my condition green set to be the default, so I keep pressing "b" until "Make Condition Green set default" is displayed. Pressing "n" will set this default.
Secondly, now that I've finished all the config, I want to hide all the "setting" functions, and just leave the activation ones. To do this, I press "b" until "Hide all setting functions from this list" is displayed, then I press "n", and only the activation functions will now be displayed when the different modes are cycled when "b" is pressed.
The last step is to turn off "Auto-Update" mode. Auto-update mode means that any change you make to an active configuration will be saved to that configuration immediately. I don't want any changes getting stored into my config, so I press "b" until "Disable auto-update mode" is shown. Then I press "n" to turn this off.
And that's it!
To test the setup, just head away from the station, until there are no ships on your scanner, which will trigger a change to condition green. If everything is set correctly, the Condition Green MFD set should now appear.
