Difference between revisions of "Oolite Stations"
From Elite Wiki
m (Fixed link.) |
(→OXP stations) |
||
| (4 intermediate revisions by 4 users not shown) | |||
| Line 1: | Line 1: | ||
== Standard stations == | == Standard stations == | ||
{| cellspacing="3" align="center" border="0" text-align="center" | {| cellspacing="3" align="center" border="0" text-align="center" | ||
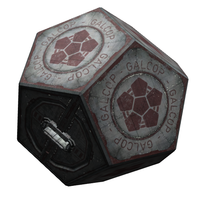
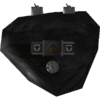
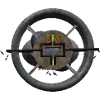
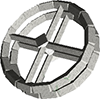
| − | | align="center" width="200" height="175"|[[Image:coriolis_sm.png |link= Coriolis Station (Oolite) | | + | | align="center" width="200" height="175"|[[Image:coriolis_sm.png |link= Coriolis Station (Oolite) |200px|]]<br>[[Coriolis Station (Oolite)|Coriolis Station]] |
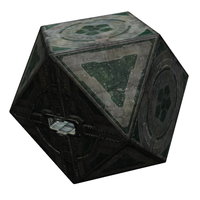
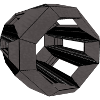
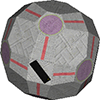
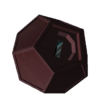
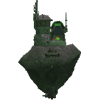
| − | | align="center" width="200" height="175"|[[Image:dodecahedron_sm.png |link= Dodecahedron Station (Oolite)| | | + | | align="center" width="200" height="175"|[[Image:dodecahedron_sm.png |link= Dodecahedron Station (Oolite)| |200px|]]<br>[[Dodecahedron Station (Oolite)|Dodecahedron Station]] |
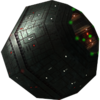
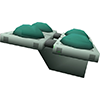
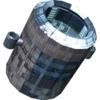
| − | | align="center" width="200" height="175"|[[Image:Ico-stat_sm.png |link= Icosahedron Station (Oolite)| | | + | | align="center" width="200" height="175"|[[Image:Ico-stat_sm.png |link= Icosahedron Station (Oolite)| |200px|]]<br>[[Icosahedron Station (Oolite)|Icosahedron Station]] |
|} | |} | ||
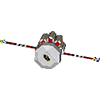
== Other anchorages == | == Other anchorages == | ||
{| cellspacing="3" align="center" border="0" text-align="center" | {| cellspacing="3" align="center" border="0" text-align="center" | ||
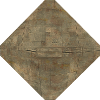
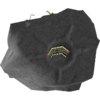
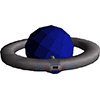
| − | | align="center" width="200" height="175"|[[Image:Rock_Hermit_sm.png |link= Rock Hermit (Oolite) | | + | | align="center" width="200" height="175"|[[Image:Rock_Hermit_sm.png |link= Rock Hermit (Oolite) |200px|]]<br>[[Rock Hermit (Oolite)|Rock Hermit]] |
|} | |} | ||
| Line 16: | Line 16: | ||
| align="center" width="200" height="175"|[[Image:Aquarian.png |link= Aquarian Shipbuilding Corp. HQ |100px|]]<br>[[Aquarian Shipbuilding Corp. HQ]] | | align="center" width="200" height="175"|[[Image:Aquarian.png |link= Aquarian Shipbuilding Corp. HQ |100px|]]<br>[[Aquarian Shipbuilding Corp. HQ]] | ||
| align="center" width="200" height="175"|[[Image:blackmonks_sm.png |link= Black Monk Monastary |100px|]]<br>[[Black Monk Monastary]] | | align="center" width="200" height="175"|[[Image:blackmonks_sm.png |link= Black Monk Monastary |100px|]]<br>[[Black Monk Monastary]] | ||
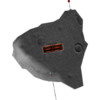
| − | | align="center" width="200" height="175"|[[Image: | + | | align="center" width="200" height="175"|[[Image:BuoyRepair_Facility_sm.png |link= Buoy Repair Facility |100px|]]<br>[[Buoy Repair Facility]] |
|- | |- | ||
| align="center" width="200" height="175"|[[Image:CZGF_sm.png |link= CZGF |100px|]]<br>[[CZGF|Collective Zero Gravity Factory]] | | align="center" width="200" height="175"|[[Image:CZGF_sm.png |link= CZGF |100px|]]<br>[[CZGF|Collective Zero Gravity Factory]] | ||
| Line 25: | Line 25: | ||
| align="center" width="200" height="175"|[[Image:Hackeroutpost.png |link= Hacker Outpost |100px|]]<br>[[Hacker Outpost]] | | align="center" width="200" height="175"|[[Image:Hackeroutpost.png |link= Hacker Outpost |100px|]]<br>[[Hacker Outpost]] | ||
| align="center" width="200" height="175"|[[Image:Hoopy sm.png |link= HoOpy Casino |100px|]]<br>[[HoOpy Casino]] | | align="center" width="200" height="175"|[[Image:Hoopy sm.png |link= HoOpy Casino |100px|]]<br>[[HoOpy Casino]] | ||
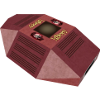
| − | | align="center" width="200" height="175"|[[Image: | + | | align="center" width="200" height="175"|[[Image:Imperial_AstroFactory.png |link= Imperial AstroFactory |120px|]]<br>[[Imperial AstroFactory]] |
| align="center" width="200" height="175"|[[Image:Laveacad.png |link= Lave Academy OXP |100px|]]<br>[[Lave Academy OXP|Lave Academy]] | | align="center" width="200" height="175"|[[Image:Laveacad.png |link= Lave Academy OXP |100px|]]<br>[[Lave Academy OXP|Lave Academy]] | ||
|- | |- | ||
| Line 35: | Line 35: | ||
| align="center" width="200" height="175"|[[Image:Ryan Villa.png |link= Ryan's Villa OXP |100px|]]<br>[[Ryan's Villa OXP|Ryan's Villa]] | | align="center" width="200" height="175"|[[Image:Ryan Villa.png |link= Ryan's Villa OXP |100px|]]<br>[[Ryan's Villa OXP|Ryan's Villa]] | ||
| align="center" width="200" height="175"|[[Image:Salvager.png |link= Salvage Gang |100px|]]<br>[[Salvage Gang]] | | align="center" width="200" height="175"|[[Image:Salvager.png |link= Salvage Gang |100px|]]<br>[[Salvage Gang]] | ||
| + | |||
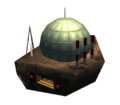
| align="center" width="200" height="175"|[[Image:SLAPU_sm.png |link= SLAPU |100px|]]<br>[[SLAPU|Solar Laboratory And Production Unit]] | | align="center" width="200" height="175"|[[Image:SLAPU_sm.png |link= SLAPU |100px|]]<br>[[SLAPU|Solar Laboratory And Production Unit]] | ||
| align="center" width="200" height="175"|[[Image:Spacebar_sm.png |link= Space Bar |100px|]]<br>[[Space Bar]] | | align="center" width="200" height="175"|[[Image:Spacebar_sm.png |link= Space Bar |100px|]]<br>[[Space Bar]] | ||
| Line 45: | Line 46: | ||
|- | |- | ||
| align="center" width="200" height="175"|[[Image:Torus_sm.png |link= Torus station|100px|]]<br>[[Torus station]] | | align="center" width="200" height="175"|[[Image:Torus_sm.png |link= Torus station|100px|]]<br>[[Torus station]] | ||
| − | | align="center" width="200" height="175"|[[Image:Trans-Hab_station_sm.png |link= Transhab station |100px|]]<br>[[Transhab station|Transhab Station]] | + | | align="center" width="200" height="175"|[[Image:Trans-Hab_station_sm.png |link= Transhab station |100px|]]<br>[[Transhab station|Transhab Station]] |
| + | | align="center" width="200" height="175"|[[Image:Ftz_small.png |link= Free Trade Zone |100px|]]<br>[[Free Trade Zone]] | ||
|} | |} | ||
{{Navbox OXP Ships}} | {{Navbox OXP Ships}} | ||
[[Category:Oolite Ship Lists]] | [[Category:Oolite Ship Lists]] | ||
Revision as of 04:23, 25 October 2017
Standard stations
 Coriolis Station |
 Dodecahedron Station |
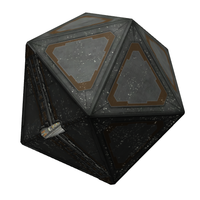 Icosahedron Station |
Other anchorages
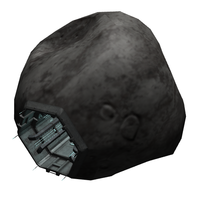 Rock Hermit |
OXP stations


Oolite Ships
|