Difference between revisions of "F C Textures"
| Line 2: | Line 2: | ||
(AKA: "There's more than one way to skin a Jabberwocky") | (AKA: "There's more than one way to skin a Jabberwocky") | ||
| − | I'll skip over these early points, since they will probably be familiar to most people. | + | I'll skip over these early points, since they will probably be familiar to most people.[[Image:text_tut1.png|thumb|left]] |
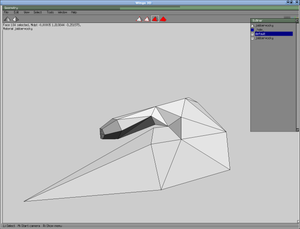
| − | First, we load our ship: | + | First, we load our ship: |
This is the vessel known as the Jabberwocky, which I'll be reskinning to make more effective use of the texture-space by mirror planing the texture. | This is the vessel known as the Jabberwocky, which I'll be reskinning to make more effective use of the texture-space by mirror planing the texture. | ||
| Line 10: | Line 10: | ||
I'm going to skin the ship up as a new variant Jabberwocky, called the "Sparth", which will serve as a general interceptor/escort for those ships of that class I tend to refer to as "Beyonder" ships (The Morrigan, Rosault, Doiltach, Nemglan Class Carrier, Sceolan, et cetera). | I'm going to skin the ship up as a new variant Jabberwocky, called the "Sparth", which will serve as a general interceptor/escort for those ships of that class I tend to refer to as "Beyonder" ships (The Morrigan, Rosault, Doiltach, Nemglan Class Carrier, Sceolan, et cetera). | ||
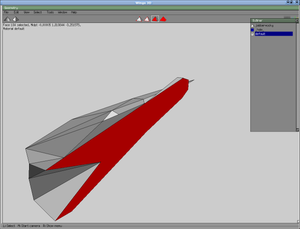
| − | + | Delete half it's vertices, along the centreline: | |
| − | [[Image:text_tut2.png]] | + | [[Image:text_tut2.png|thumb]] |
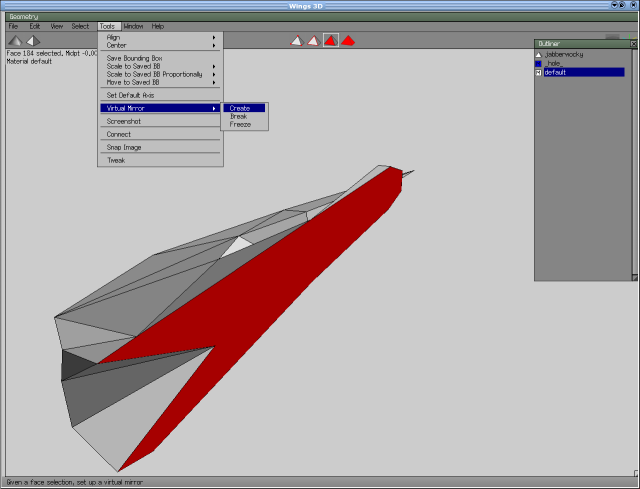
| − | + | Now insert a mirror plane via Tools>Virtual Mirror>Create: | |
[[Image:text_tut3.png]] | [[Image:text_tut3.png]] | ||
| Line 22: | Line 22: | ||
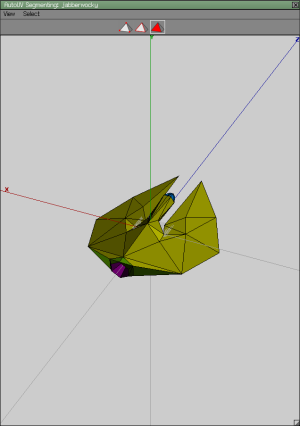
After I unfold, I shove my textures around and resize them a much as possible, to fill every available vacancy on the texture. You can grap vertices and move them, and flatten them (this is especially useful at the ends of tubes, which tend to unfold in curves, otherwise. | After I unfold, I shove my textures around and resize them a much as possible, to fill every available vacancy on the texture. You can grap vertices and move them, and flatten them (this is especially useful at the ends of tubes, which tend to unfold in curves, otherwise. | ||
| − | [[Image:text_tut5.png]] | + | [[Image:text_tut5.png|thumb|right]] |
Now export it and open your graphics package - I'm using the GIMP. | Now export it and open your graphics package - I'm using the GIMP. | ||
| − | [[Image:text_tut6.png]] | + | [[Image:text_tut6.png|thumb|left]] |
| + | |||
| + | I find to best to treat texuting a model as a process of gradual layering-on of new data, so think carefully about how you're going to do this, while you have a clean slate, since, at the moment, you can do things like selecting all of the data within a given face quiteeasily, by using tools like the "Contiguous Areas" tool, to select entire areas of a given colour.[[Image:text_tut18.png|right]] | ||
| + | |||
| + | Because I try to work with the fact that my ships are formed from frames, I next tend to fill in alternate zones of the ship's hull with the main body colour (mid grey, or #666666, in this case). | ||
| + | [[Image:text_tut7.png]] | ||
| + | |||
| + | Now I begin to add the boundary lines of my main areas of the ship. Because I only have half my ship greyed-out, I have a close enough guide, to allow me to follow the edges of the model quite closely. I use the "Paths" tool, to lay down some basic lines. | ||
| + | [[Image:tetx_tut8.png|left]] | ||
Revision as of 14:45, 25 March 2006
Daniel Walker's Texturing Guide
(AKA: "There's more than one way to skin a Jabberwocky")
I'll skip over these early points, since they will probably be familiar to most people.
First, we load our ship:
This is the vessel known as the Jabberwocky, which I'll be reskinning to make more effective use of the texture-space by mirror planing the texture.
I'm going to skin the ship up as a new variant Jabberwocky, called the "Sparth", which will serve as a general interceptor/escort for those ships of that class I tend to refer to as "Beyonder" ships (The Morrigan, Rosault, Doiltach, Nemglan Class Carrier, Sceolan, et cetera).
Delete half it's vertices, along the centreline:
Now insert a mirror plane via Tools>Virtual Mirror>Create:
That will give you your old ship back, except that when you come to apply a UV map to it, you only actively need to assign textures to half you planes: the planes on the other half of your ship are automatically selected for you. How you do this is your choice, but I'd advise you to avoid unecessary work in marrying adjacent textures. As you'll see, a lot of my designs are dictated by my efforts to avoid all of that.
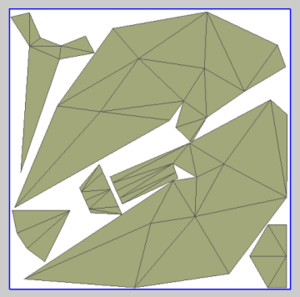
After I unfold, I shove my textures around and resize them a much as possible, to fill every available vacancy on the texture. You can grap vertices and move them, and flatten them (this is especially useful at the ends of tubes, which tend to unfold in curves, otherwise.
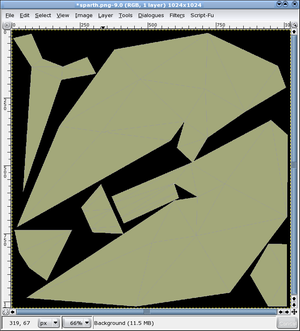
Now export it and open your graphics package - I'm using the GIMP.
I find to best to treat texuting a model as a process of gradual layering-on of new data, so think carefully about how you're going to do this, while you have a clean slate, since, at the moment, you can do things like selecting all of the data within a given face quiteeasily, by using tools like the "Contiguous Areas" tool, to select entire areas of a given colour.
Because I try to work with the fact that my ships are formed from frames, I next tend to fill in alternate zones of the ship's hull with the main body colour (mid grey, or #666666, in this case).
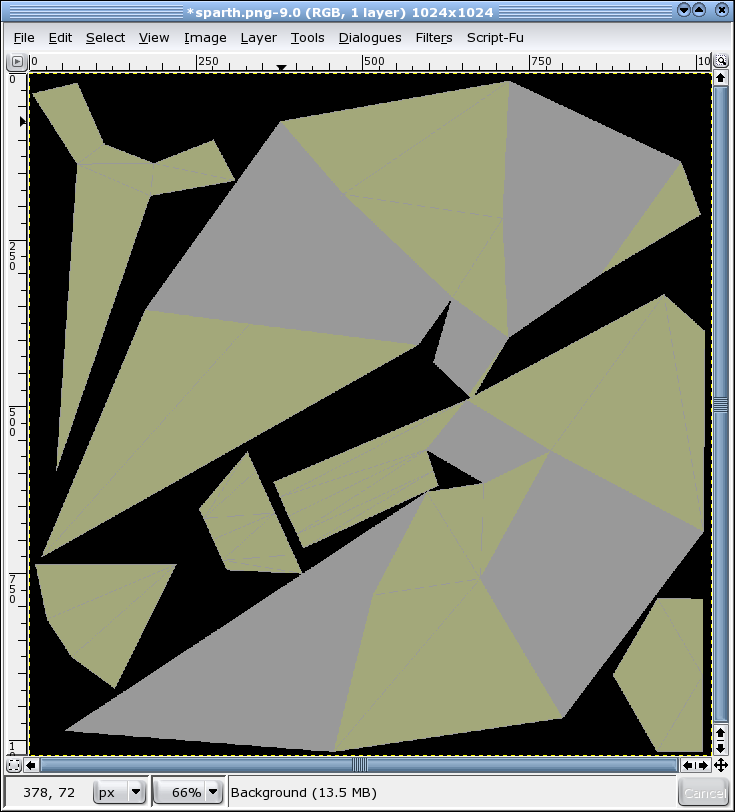
Now I begin to add the boundary lines of my main areas of the ship. Because I only have half my ship greyed-out, I have a close enough guide, to allow me to follow the edges of the model quite closely. I use the "Paths" tool, to lay down some basic lines.
