Difference between revisions of "F C Textures"
| Line 48: | Line 48: | ||
| − | |||
| − | I use the "Paths" tool, to lay down the basic lines. | + | |
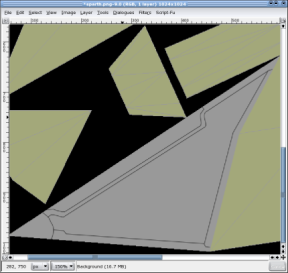
| + | [[Image:text_tut8.png|left]]First-layer detail consists of boundary lines that run over the main areas of the ship. I follow the edges of the model quite closely, since in this case, this will allow me to put in "spines" between adjacent areas of detailing, at those edges where the plane of the ship's side changes sharply. This effectively fudges the issue of marrying up adjacent planes, while providing a visual impression of strength and purpose. | ||
| + | |||
| + | I use the "Paths" tool, to lay down the basic lines (see left). | ||
Revision as of 16:33, 25 March 2006
Daniel Walker's Texturing Guide
(AKA: "There's more than one way to skin a Jabberwocky")
I'll skip over these early points, since they will probably be familiar to most people.
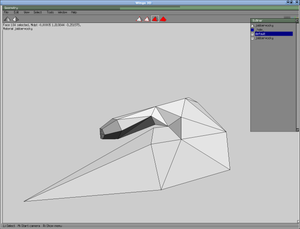
First, we load our ship:
This is the vessel known as the Jabberwocky, which I'll be reskinning to make more effective use of the texture-space by mirror planing the texture.
I'm going to reskin this ship up as a new variant Jabberwocky - called the "Sparth" - which will serve as a general high-performance interceptor/escort for those ships of the type that class I tend to think of as the "Beyonder" ships (i.e. The Morrigan, Rosault, Doiltach, Nemglan Class Carrier, Sceolan, et cetera).
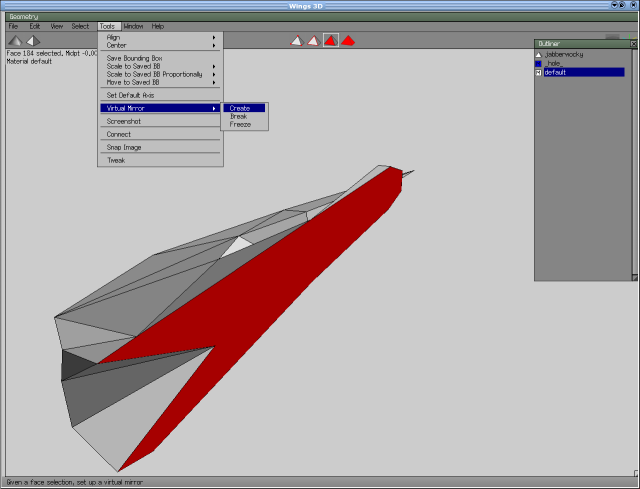
Delete half it's vertices, along the centreline and insert a mirror plane via Tools>Virtual Mirror>Create:
That will give you your old ship back - except that when you come to apply your UV map to it, you will find that you only need to actively assign textures to half of your ship's planes: the planes on the other half are automatically selected for you.
How you do this is your choice, but I'd advise you to avoid unnecessary work that will see you trying to marry-up details on adjacent texture areas. (As you'll see, a lot of my own designs are dictated by my efforts to avoid any of that kind of thing.)
After I unfold, I shove my textures around and resize them a much as possible, to fill every available vacancy on the texture, while allowing me some elbow room to work. I create the textures at 1024x1024, and only resize down to 512x512 after I've finished every part of my texturing and testing of the ship. You may find this useful, as well: my 6 year-old Pentium III Linux box copes perfectly well with running the game with ships that have 1024x1024 textures in it.
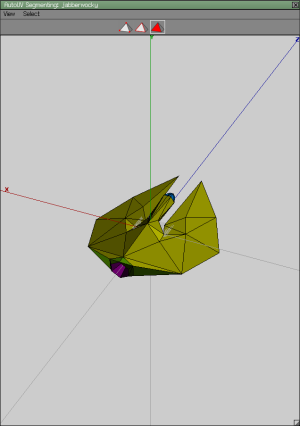
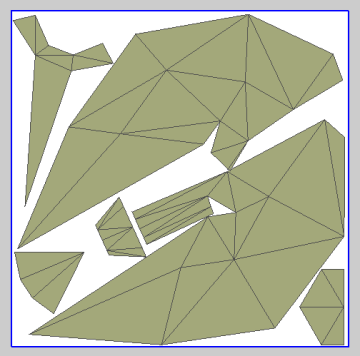
To smarten up your work, you can grab vertices and move them around on the texture map. I had to do that with the main cabin stem, right in the middle of the picture, here, because it was overlaying the "wing" zone, which it is attached to.
For what it is worth, I also flattened the boundaries between cockpit canopy and cabin stem (tubes typically tend to unfold in curves, otherwise). You can do quite a bit of manipulation, prior to actually baking your texture, and it can save quite a bit of work later on.
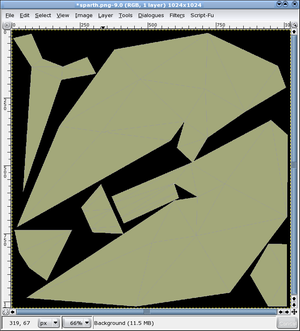
Now export it and open your graphics package - I'm using the GIMP.
I find to best to treat texturing a model, as a process of gradual layering-on of new data until the final version is reached.
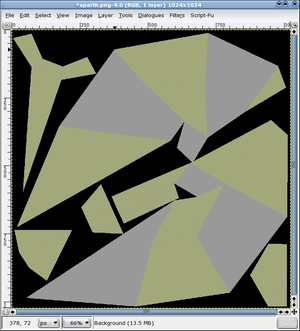
I tend to fill-in alternate zones of the ship's hull with the main body colour (mid grey, or #666666, in this case). This allows me to apply first-layer details to my greyed-out areas, while leaving me with enough visual clues as to the original boundaries between the adjacent zones, when it come to applying first-layer detail to the remaining areas, after I have I greyed-out those, in turn.
First-layer detail consists of boundary lines that run over the main areas of the ship. I follow the edges of the model quite closely, since in this case, this will allow me to put in "spines" between adjacent areas of detailing, at those edges where the plane of the ship's side changes sharply. This effectively fudges the issue of marrying up adjacent planes, while providing a visual impression of strength and purpose.
I use the "Paths" tool, to lay down the basic lines (see left).
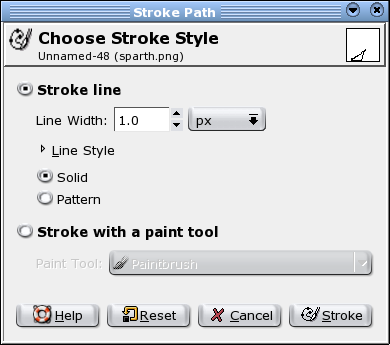
"Stroke Path" will then apply a dark grey 1-pixel line, over all of the paths I have defined. You can use a paint tool, instead, if you wish, but I find a 1px line usually does the trick.
